Cabinet Painting Services
Are you looking to update your kitchen or bathroom cabinets, but on the fence about taking on the expense and stress of a full rip & replace? Cabinet painting is one of the most effective ways to accomplish your goal at a fraction of the cost and hassle.
Get A Free Estimate
It’s super simple. Fill in the form below and we’ll get back to you ASAP to give you a free estimate/quote for your cabinet painting project.
Serving Montgomery County & Surrounding Areas
Cabinet Painting Services Near You
If you’re looking to upgrade your kitchen with expert cabinet painting, Burge Painting Company is here to assist. Our team delivers exceptional cabinet painting services that can dramatically enhance the appearance and increase the value of your home.
Kitchen Cabinet Painting Services
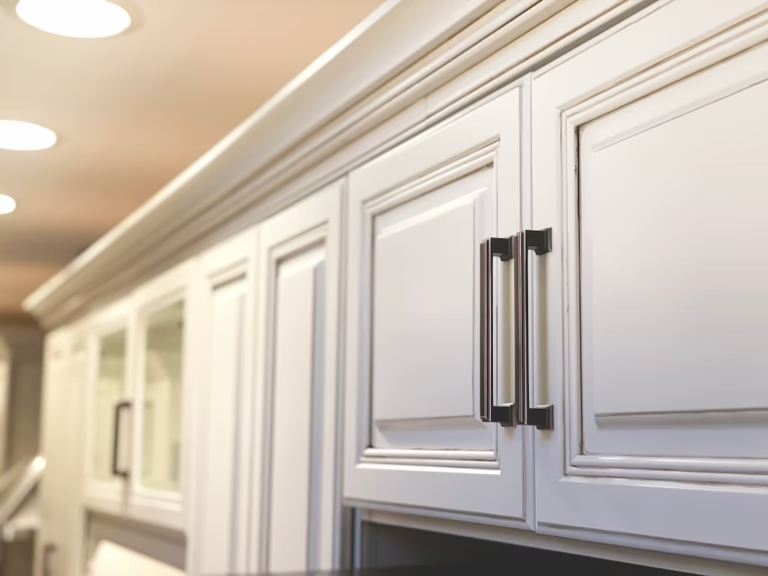
Our meticulous cabinet refinishing process covers everything from disassembling, fully cleaning & sanding/smoothing, to priming, painting & reassembling. We only use products specifically formulated for cabinetry, so your kitchen cabinets maintain the durability and appeal from the day we finish for years to come!
- Kitchen Cabinets
- Bathroom Cabinets & Vanities Shelving
- Built-ins, Furniture, etc.
- Solid Wood Cabinets
Cabinet Refinishing Services
At Burge Painting Company, our cabinet painting and prep process ensures that any cabinet surface can be brought back to life. We carefully prepare each cabinet for a near factory finish at our spray booth off-site in Ambler, PA. Additionally, we offer modifications to existing cabinets, including new style hardware, hinges, and trim updates. We also specialize in grain filling oak cabinets for a smooth, modern appearance and expertly repair heavily worn cabinets to restore their original beauty. With our commitment to quality, your cabinets will look and function like new.
- Wood Grain Treatment
- Handle/Pull Replacement
- Accent Color / Multi-Color Applications
- Hinge Replacement (Slow Close)
- Frame Modifications
WHY CHOOSE US?
Why Choose Burge Painting For cabinet Painting Services?
NO HASSLE
Cabinet refinishing is a less intrusive, hassle-free alternative to replacement, completed in less than two weeks. You maintain access to your pantry, fridge, and sink, and do not even need to empty your cabinets.
TIMELINE
A full replacement could have your kitchen out of commission for weeks to months with order delays. With our process - majority of standard kitchen projects take only 2 weeks!
FLEXIBILITY
Choosing to paint your cabinets gives you more control over custom colors and sheens. Factory cabinets are limited, but with painting the color you pick is the color you get
DURABILITY
Factory cabinets are durable, but they may still deteriorate with moisture or heat depending on quality - we paint with high quality paints formulated to create a hard, durable shell.
COST
While a quality cabinet refinish job is not cheap - after labor (demo & new installation) & the cost of the new cabinets themselves - it is substantially less expensive than a full rip & replace.
SEE OUR PAINTING PROCESS
We Have A Proven Cabinet Painting Process
Our proven cabinet painting process that makes it super easy to work with us!
Step 1: Cabinet Disassembly & Transport
We set up our initial workspace & then all removable cabinet doors & drawer faces & associated hardware are disassembled and labeled in coordination with their spot on the frame. The doors and drawers are then transported to Ambler, PA to be finished off-site.
We also carefully
Remove cabinet doors / drawer faces and label numerically from left to right. Remove hardware (hinges, knobs, etc.) & store inside corresponding cabinet/drawer spot.
We thoroughly protect belongings and clean surfaces
We make sure to – mask all drawer openings, counter tops, floor, backsplash, ceiling, appliances, pull out fridge, etc.
Every surface is cleaned with TSP solution to eliminate contaminants that could jeopardize finish longevity.
Step 2: site prep & Clean Frame (On-Site)
Once all cabinets & drawer faces are off-site – we remove drawer tracks, mask off the frame and surrounding areas for our spray application & thoroughly clean. This set up includes the set-up of a negative air filtration system to reduce any odors and eliminate air contaminants.
Step 3: Hang & clean Doors
We then prepare the spray room for paint, set up our negative air system to remove any dust and contaminants from floating around – then we thoroughly clean & hang each door & drawer.
Organization is Key
We hang doors based on size and/or options selected to ensure that every door gets the correct color, handle size, etc.
Additionally, we take extra care on high traffic cabinets (below sink, above cooking areas, etc.)
Remove Cabinet Imperfections
Spray application of primer on all surfaces
Search under spotlight for any wood knots, imperfections, or wear & tear to repair
We then apply Bondo to remove impefections, sand with 220, vacuum excess dust then tack cloth every square inch until all surfaces are smooth and free of dust
Step 4: Prime & Prep
Once the cabinets are dry from cleaning – we apply 2 coats of shellac primer (Zinsser BIN) to the frame & doors & Let dry overnight then repair imperfections, sand & tack cloth.
Step 4a: Perform Add-ons (optional)
Right before or during the priming phase, we perform any selected cabinet modifications such as adding or replacing hardware sizes, boring holes for concealed hinges or filling the grain of any heavy wood grained cabinets (i.e oak).
Step 5: Finish Coats
Once the cabinets & frame have been primed, prepped and all optional add-ons completed – we apply (2) coats of a premium cabinet coating to ensure maximum durability.
We take special care during this phase
We can work with you to determine the best modifications to enhance your cabinets.
Allow to Cure Overnight
Apply consistent finish coat to enhance paint leveling and coat consistency. Allow to cure & harden overnight (darker paints may require additional cure time)
We also do a in between coat inspection to ensure we are all clear for final coat
Final Steps
Safely wrap up doors & drawer faces in bubble wrap and transport back to jobsite
One by one – re-install hinges on each door (or install new hinges if required) & hang in corresponding spot
Install brand new bumpers on inside of doors and drawers
Re-install knobs (or install new knobs if required)
Remove all tape, plastic, paper, and drops from the kitchen
Vacuum & wipe down the dust from floor & countertops
Touch-up any remaining areas near hinges that may need it
Step 6: White Glove Installation
The final phase once the paint has fully cured is to securely return the doors and drawers and reassemble. We can reinstall existing hardware or even install brand new hardware if desired.
SEE OUR PAINTING PROCESS
We Have A Proven Painting Process
We take care of our clients and we have a proven painting process that makes it super easy to work with us!
Call now or complete our contact form and we will call you ASAP to learn more about your project and schedule an in person estimate.
We ask a lot of questions and walk the house with you so that we know exactly how to customize your project for your needs. We write up and deliver you a bid package on the spot. No “we’ll email you a bid” from us.
After you’ve decided to work with us, we’ll be in close communication about start date. If you need us for anything, we’re a text away
When we finish your project, we’ll do a 360 walkthrough with you to make sure you’re happy and everything is 100% complete. All work we completed is backed by a 1-year warranty.
See What Your Neighbors Are Saying...
EXCELLENTTrustindex verifies that the original source of the review is Google. Burge just finished up our third project with them. My son has used them too. They always do a great job. The highest quality work at a reasonable price. Very professional and reliable. Highly recommended.Posted on GoogleTrustindex verifies that the original source of the review is Google. Very satisfied with the paint job. Dennis and Cas were courteous and professional. They really went above and beyond.Posted on GoogleTrustindex verifies that the original source of the review is Google. I just competed my second project with Burge Painting Co. They continued to impress me with their professionalism, fair pricing and quality of workmanship. They are easy to work with and don't disappoint.Posted on GoogleTrustindex verifies that the original source of the review is Google. Great service & attention to detail. They treated my house like it was their house!!Posted on GoogleTrustindex verifies that the original source of the review is Google. Great service & attention to detailPosted on GoogleTrustindex verifies that the original source of the review is Google. I highly recommend Burge Painting Company! They are very professional and reliable. Their quality of work is so impressive!Posted on GoogleTrustindex verifies that the original source of the review is Google. From start to finish, the team at Burge Painting demonstrated incredible craftsmanship and a genuine commitment to quality. Every detail was handled with care, and it truly showed throughout the project. Their communication was prompt and transparent, keeping us informed at every stage so there were no surprises. It’s clear they take real pride in their work. The finished product has left us, as well as our friends, family, and visitors, in awe! We highly recommend Burge Painting to anyone looking for a smooth experience and beautiful, lasting results.Posted on GoogleTrustindex verifies that the original source of the review is Google. We had a great experience with Burge Painting! Their attention to detail is truly unmatched, and they treated our home with so much care and precision. Communication was excellent throughout the entire process. They were responsive, clear, and always kept us updated on timing and expectations, which made everything feel seamless and stress-free. Beyond their professionalism, their talent really stands out. You can tell they take pride in their craft, and it absolutely shows in the final result. We couldn’t be happier and would recommend them to anyone looking for high-quality work done right the first time.Posted on GoogleTrustindex verifies that the original source of the review is Google. We had our master bedroom done, in addition to painting: popcorn ceiling removed, crown molding added and board and batten accent wall installed. We were extremely pleased with the result. Kevin, Dennis and their team were highly professional throughout the process. They were very helpful working through the design. Everyone was so friendly. They were very clean. Would absolutely hire again!Posted on GoogleTrustindex verifies that the original source of the review is Google. Customer service was excellent. I highly recommend Dennis and Burge Painting to homeowners who want a quality job done right.
HAVE QUESTIONS?
Frequently Asked Questions
Have a question? See our frequently asked questions & answers. If you have any specific questions about your cabinet painting project, get in touch and we’ll answer any questions you may have!
Our estimates are 100% free & guaranteed for all of our cabinet painting projects. If you accept an estimate from us, that will be the final cost barring unforeseen issues or change orders which will both be fully communicated prior to invoice.
Yes, we do offer free color consultations, get in touch and we’ll setup you up with a free color consultation.
Yes, we’re a 100% local company, everyone including the founders are from the local area.
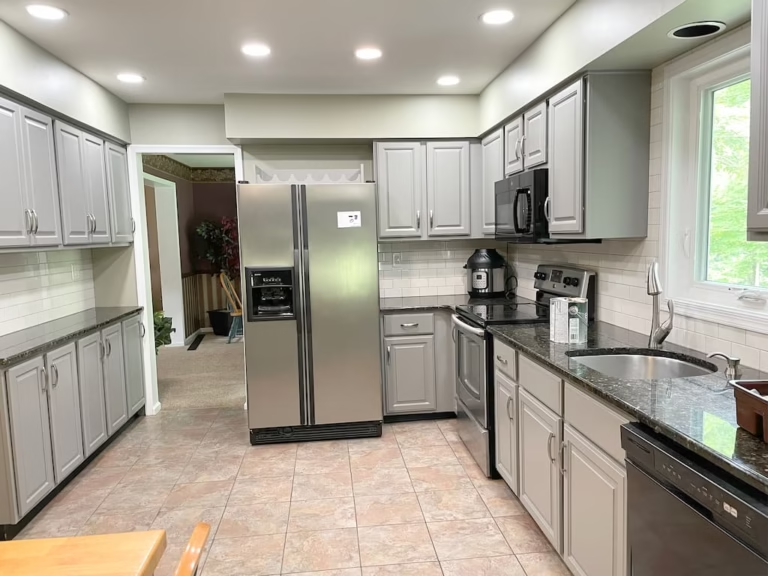
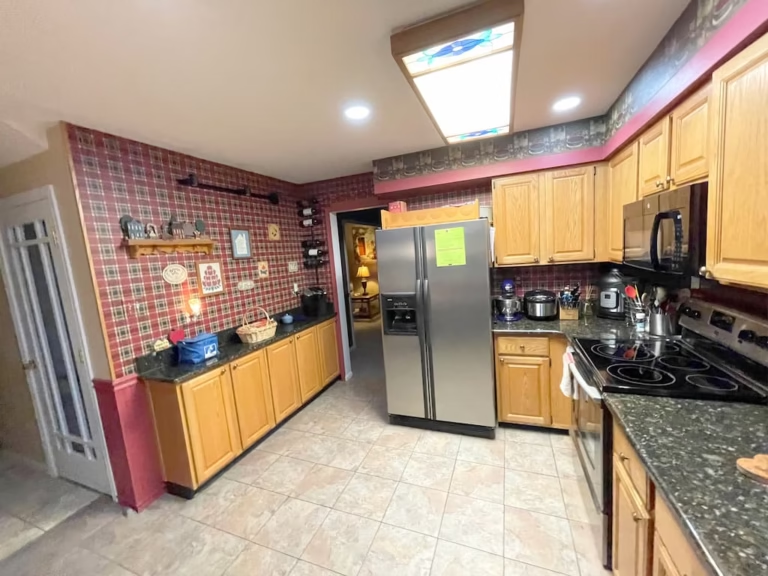
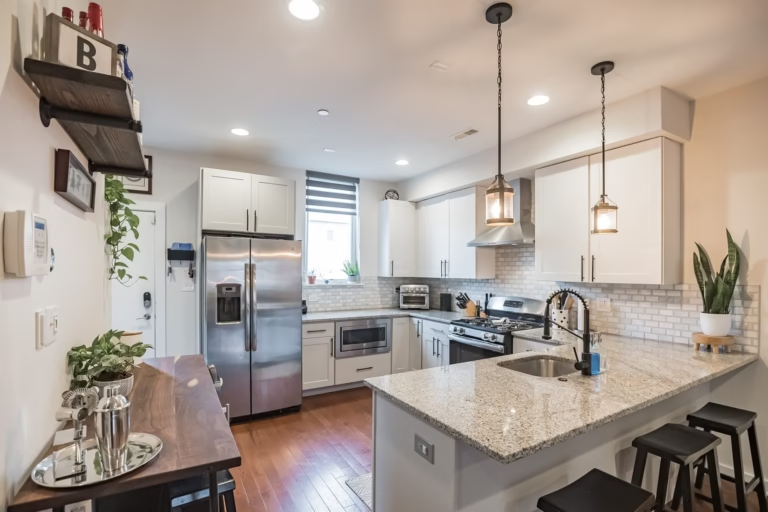
Yes, take a look at the image gallery of recently completed painting jobs below.
It depends what kind of painting job you are looking for. For example, interior and exterior jobs can be different depending on the job scope. The best way to know how much your painting job will cost is get in touch and setup a free estimate.
Yes, we are fully licensed and insured. We have General Liability Insurance as well as Workers’ Compensation Insurance, and we are licensed in both PA (PA139823) and NJ (NJ13VH10305100). We can provide a certificate of insurance upon request.
SEE OUR PREVIOUS CABINET PAINTING PROJECTS
See Our Previous Work
Burge Painting Company goes beyond the basics—we deliver exceptional results that exceed expectations. From interior and exterior painting to expert cabinet painting, we provide prompt, reliable service with unmatched attention to detail. Proudly serving Montgomery County and surrounding areas, we are committed to professionalism and customer satisfaction. Contact us today to transform your home!
Satisfaction Guaranteed
No Job Is Complete Without Your Approval
At Burge Painting Company, customer satisfaction is our top priority. We don’t consider any residential painting project complete until you’re fully satisfied. We follow a systematic process to ensure quality at every step, reviewing our work throughout and conducting a final walkthrough with you. Only when you give us the final sign-off do we consider the job done. Plus, for your peace of mind, we offer a 1-year workmanship warranty on all our services.